Kemiko
Concrete Coatings and Floor Systems
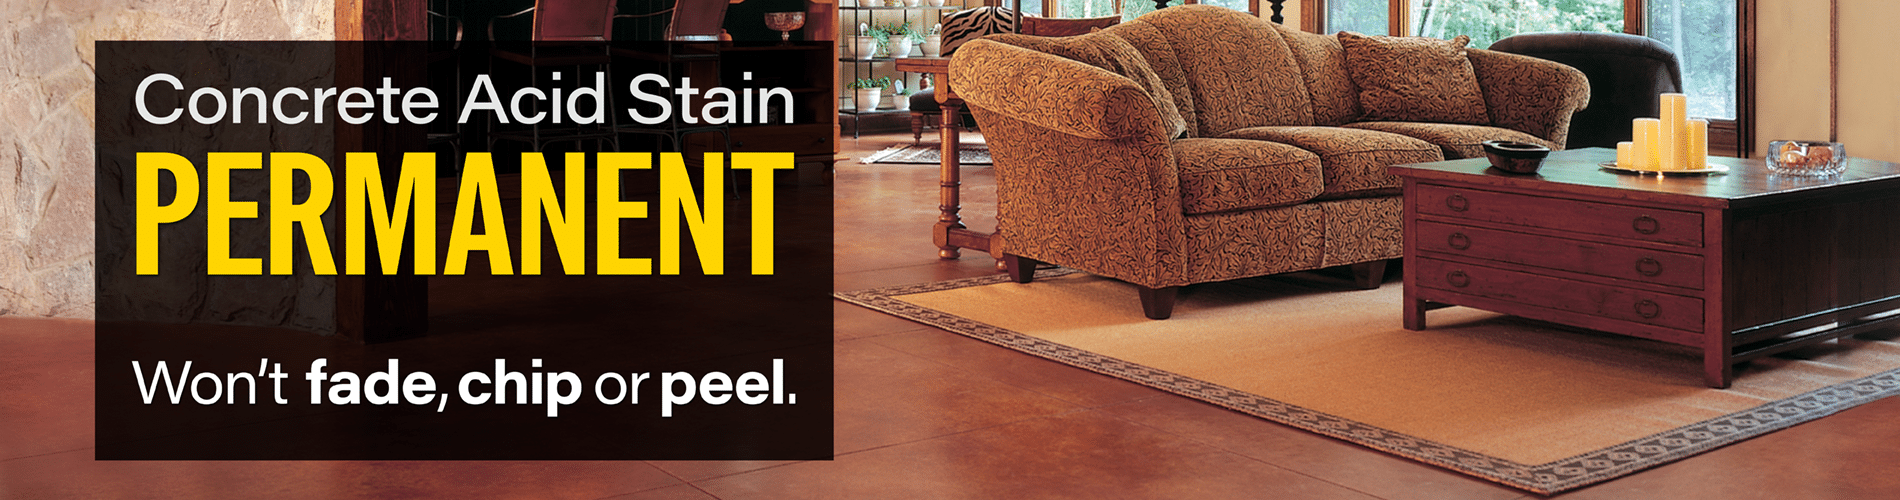
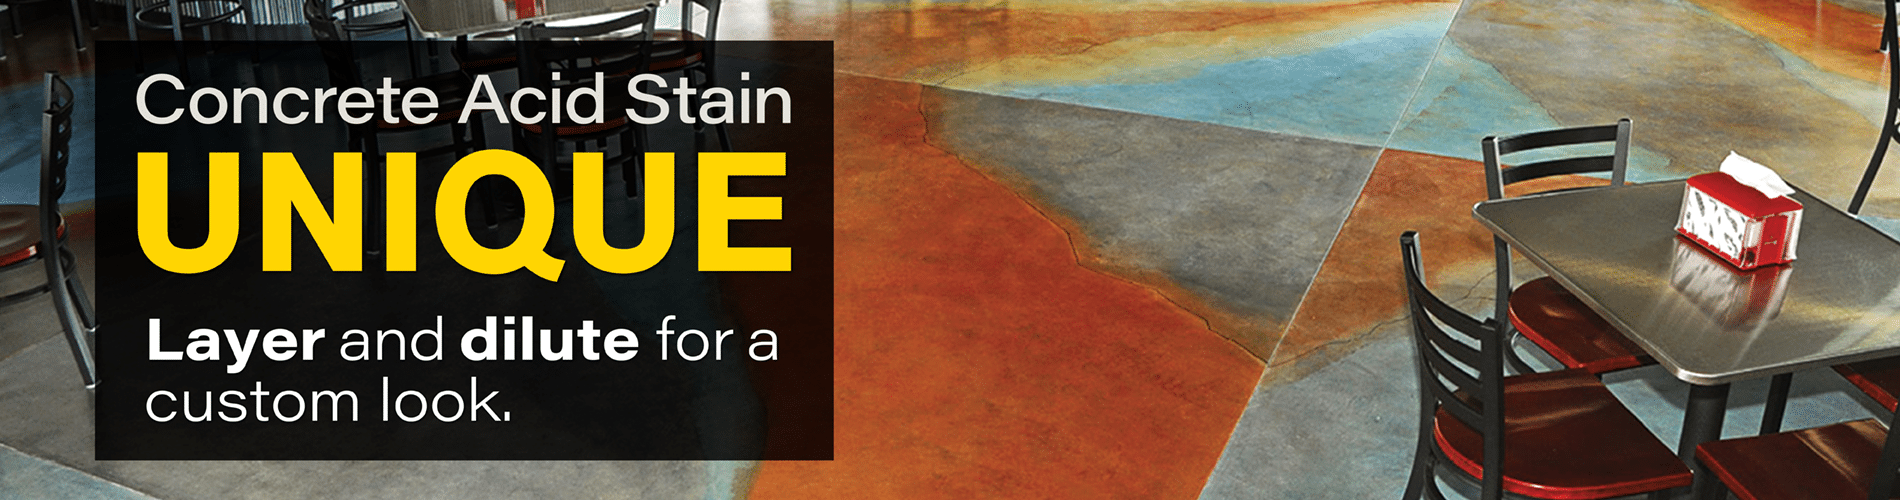
Check out great concrete acid stain floor ideas
Learn how to use concrete stains, sealers and more
Find a Kemiko dealer near you